


-
 Linea Mini · 25 – Fittings and ValvesItem 7
View →
-
 Linea Mini R · 17 – Hydraulic AssemblyItem 29
View →
-
 Linea Mini R · 25 – Coffee Boiler AssemblyItem 16
View →
-
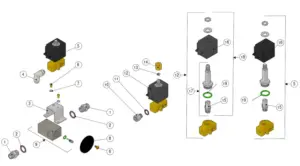 GS3 · 35 – Fittings and ValvesItem 17
View →
-
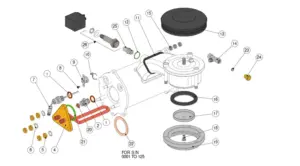 GS3 · 41 – Coffee Boiler Assembly – AVItem 26
View →
-
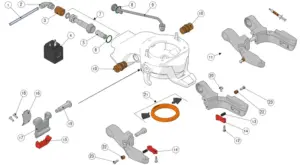 KB90 · 33 – Coffee Group Assembly- Straight InItem 7
View →
-
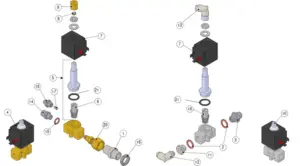 Modbar New Steam · 19 – Steam Modules – Fittings and ValvesItem 5
View →
-
 Shot Brewer · 27 – Coffee Boiler Assembly – EPItem 16
View →
-
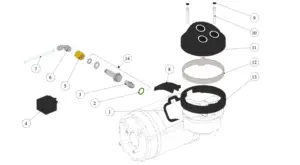 Strada AV · 33 – Coffee BoilerItem 14
View →
-
 Strada EE · 35 – Coffee BoilerItem 20
View →
-
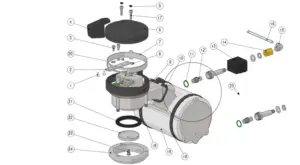 Strada EP 1.1 · 41 – Coffee BoilerItem 25
View →
-
 Strada EP 1GR · 35 – Coffee BoilerItem 25
View →
-
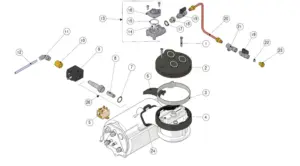 Strada S · 140 – Coffee BoilerItem 26
View →
-
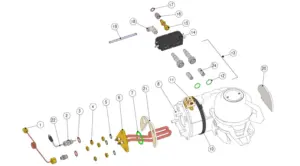 Strada X · 130 – Coffee BoilerItem 13
View →
-
 Strada X · 145 – Coffee Boiler No ST-InItem 15
View →
-
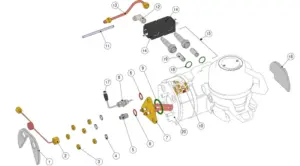 Strada X 1GR · 160 – Coffee BoilerItem 15
View →
-
 Strada X 1GR · 175 – Coffee BoilerItem 15
View →
La Marzocco 3-way valve (without coil) (B.2.006.02)
69,00 € incl. VAT
Product details
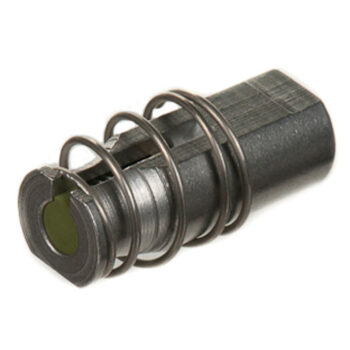
Original La Marzocco 3-way valve (without coil).
This component is located on the back of the brewing boiler and is part of the 3-way solenoid valve. It ensures that water can flow from the brewing boiler into the brewing group after brewing has started. After brewing is complete, the remaining water is sucked out of the coffee puck and directed into the drip tray to relieve pressure. If the solenoid valve no longer opens or closes properly, the cause is usually the armature and/or the sleeve in which the armature moves.
Suitable for the following machines: GS3, Linea Mini, Linea Mini R, KB90, Modbar, Shot Brewer, Strada EP, Strada AV, Strada EE, Strada MP, Strada S, Strada X, Strada EP 1GR, Strada X 1GR
Scope of delivery:
-1x La Marzocco 3-way valve (without coil)
Article number: B.2.006.02
Manufacturer information
Manufacturer: La Marzocco Srl
Address: Via La Torre 14/H, 50038 Scarperia e San Piero (FI), Italy
Contact: info@lamarzocco.com | www.lamarzocco.com
Safety information for water-carrying components
This spare part carries water, sometimes hot and under pressure. With a little experience in handling tools, you can usually install it yourself without difficulty.
For legal reasons I must nevertheless point out the following: before installation, switch the machine off, pull the mains plug and let it cool down. Release any remaining pressure, for example via the steam wand. If the machine is plumbed in, turn off the water. After installation, check all connections for leaks and do not leave the machine unattended during the first few uses. Leaking connections can lead to water damage.
I accept no liability for damage caused by improper installation or leaking connections. Your statutory warranty rights remain unaffected.
exploded view
Included in the following exploded drawings:
This item is highlighted in the drawing. You can add further parts to your cart right here.
Additional information
| Weight | 0,1 kg |
|---|
Reviews (0)
Customers Reviews
Reviews can only be submitted by customers who bought the product in my shop. I check this against the order.
Only logged in customers who have purchased this product may leave a review.
You may also like…






More from this category











There are no reviews yet.