
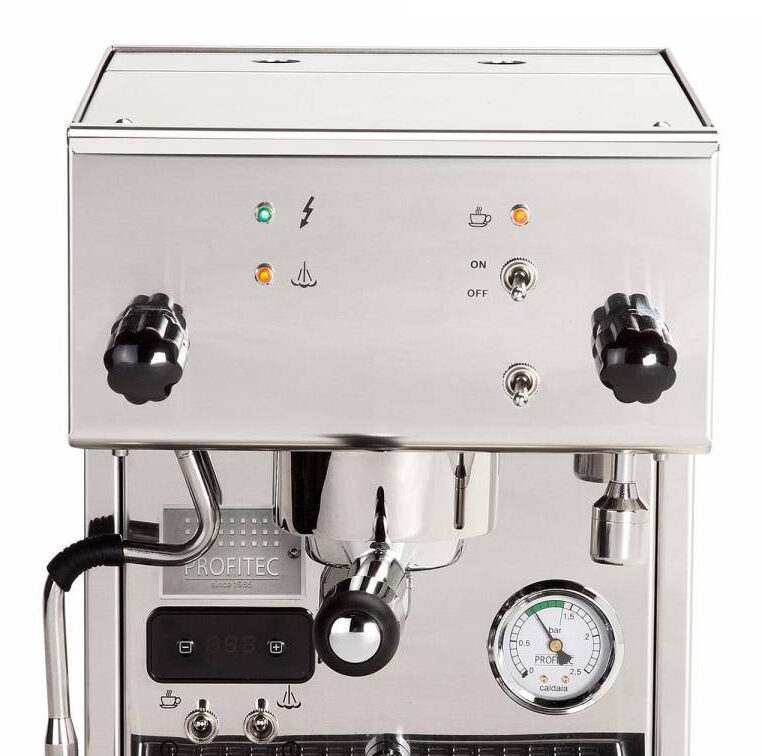
Pro300 needle valve kit
Price range: 580,00 € through 600,00 € incl. VAT
Product details
Starting point
For me, the Pro300 is a cheap alternative to the Linea Mini. Thanks to the boiler concept, a quick heat-up time and the compact dimensions, it has many properties that are very desirable to me.
The project with the needle valve in the Pro300 started out of interest in what was possible with the machine as a basis. To be honest, I was pleasantly surprised and that's why I decided to pursue this project further.
Unlike the Linea Mini, the Pro300 is not operated using the paddle but rather using toggle switches. For this purpose, an additional switch is added to the front panel of the machine.
This switch can be used to switch between the PI via the needle valve and brewing with full pump pressure.
What advantages does the conversion have?
Thanks to the low flow rate during pre-infusion, the puck is saturated slowly. This is comparable to the so-called blooming in filter coffee. As a result, extraction becomes more even and the tendency to channeling is reduced.
In addition, the modification lets you adjust two further variables: the flow rate and the duration. For example, you can grind finer if you extend the pre-infusion.
The big advantage of the two-stage system is reproducibility. Once the correct settings are found, your shots can be easily reproduced.
What are the differences compared to a Linea Mini with the needle valve kit?
Although the technology underlying the two conversions is similar, the following must be noted. Compared to the Linea Mini, the needle valve on the Pro300 is located further away from the brewing group in the system. This in conjunction with the Pro300's vibration pump ensures slower switching between the PI and extraction positions. In addition, a certain fluctuation in the flow rate can occur due to the control of the vibration pump.
What is included in the kit?
• Fully assembled wiring harness, including toggle switch for switching between modes
• all required hydraulic components and fittings
• sufficient Teflon hose
• assembly instructions
What is needed to carry out the conversion?
The conversion can be carried out very easily by anyone. I like to compare it to building a shelf. You need some time, desire and the right tools. If you carry out all the steps in the right order, that's half the battle.
Required tools & material:
• a set of screwdrivers
• a set of open-end wrenches
• Liquid sealant for sealing hydraulic components.
• a 12mm drill to mount the switch in the front panel.
• if necessary, an electrician for the electrical connection of the wiring harness, if you are not familiar with this.
How long does installation take?
The time required to simply assemble the kit is 2 to 3 hours for an experienced mechanic. Inexperienced mechanics should plan on an afternoon. Added to this is the drying time of each liquid sealant.
Additional information
| Weight | 0,850 kg |
|---|
Reviews (0)
Customers Reviews
Only logged in customers who have purchased this product may leave a review.
You may also like…



More from this category





 English
  Deutsch (Sie)
There are no reviews yet.